 Warning: lots of pictures!!!
I have stolen a lot of cool ideas for this week and have come up with some on my own too...we absolutely love our teachers and love spoiling them every day of the week!
This year, I didn't make much, since I am going to be away...everything was done ahead of time and actually it is nice to think things are all wrapped up and ready to walk out the door each morning with the girls...
Monday...I am a room parent for one room. The PTA wanted the room mom's do write on these flowers and make a "thank you" card for the teachers...yeah....not going to work with me, so we decided to do this fun project instead to cover both days...I pulled the kids out in groups and I asked the kids some questions that I already had the answers to...favorite color, place to shop, vacation spot, etc....I wrote down everything the kids said...I mean everything - including what other group members interjected - it was pretty fun!
 Since it was Teacher Trivia...we asked "Are you smarter than a 4th or 5th grader? We think so!"
 For the other teacher that I am not the room parent for, I went with school supplies since state testing is just around the corner...I turned this...
 into this...."You're the write fit for me!"
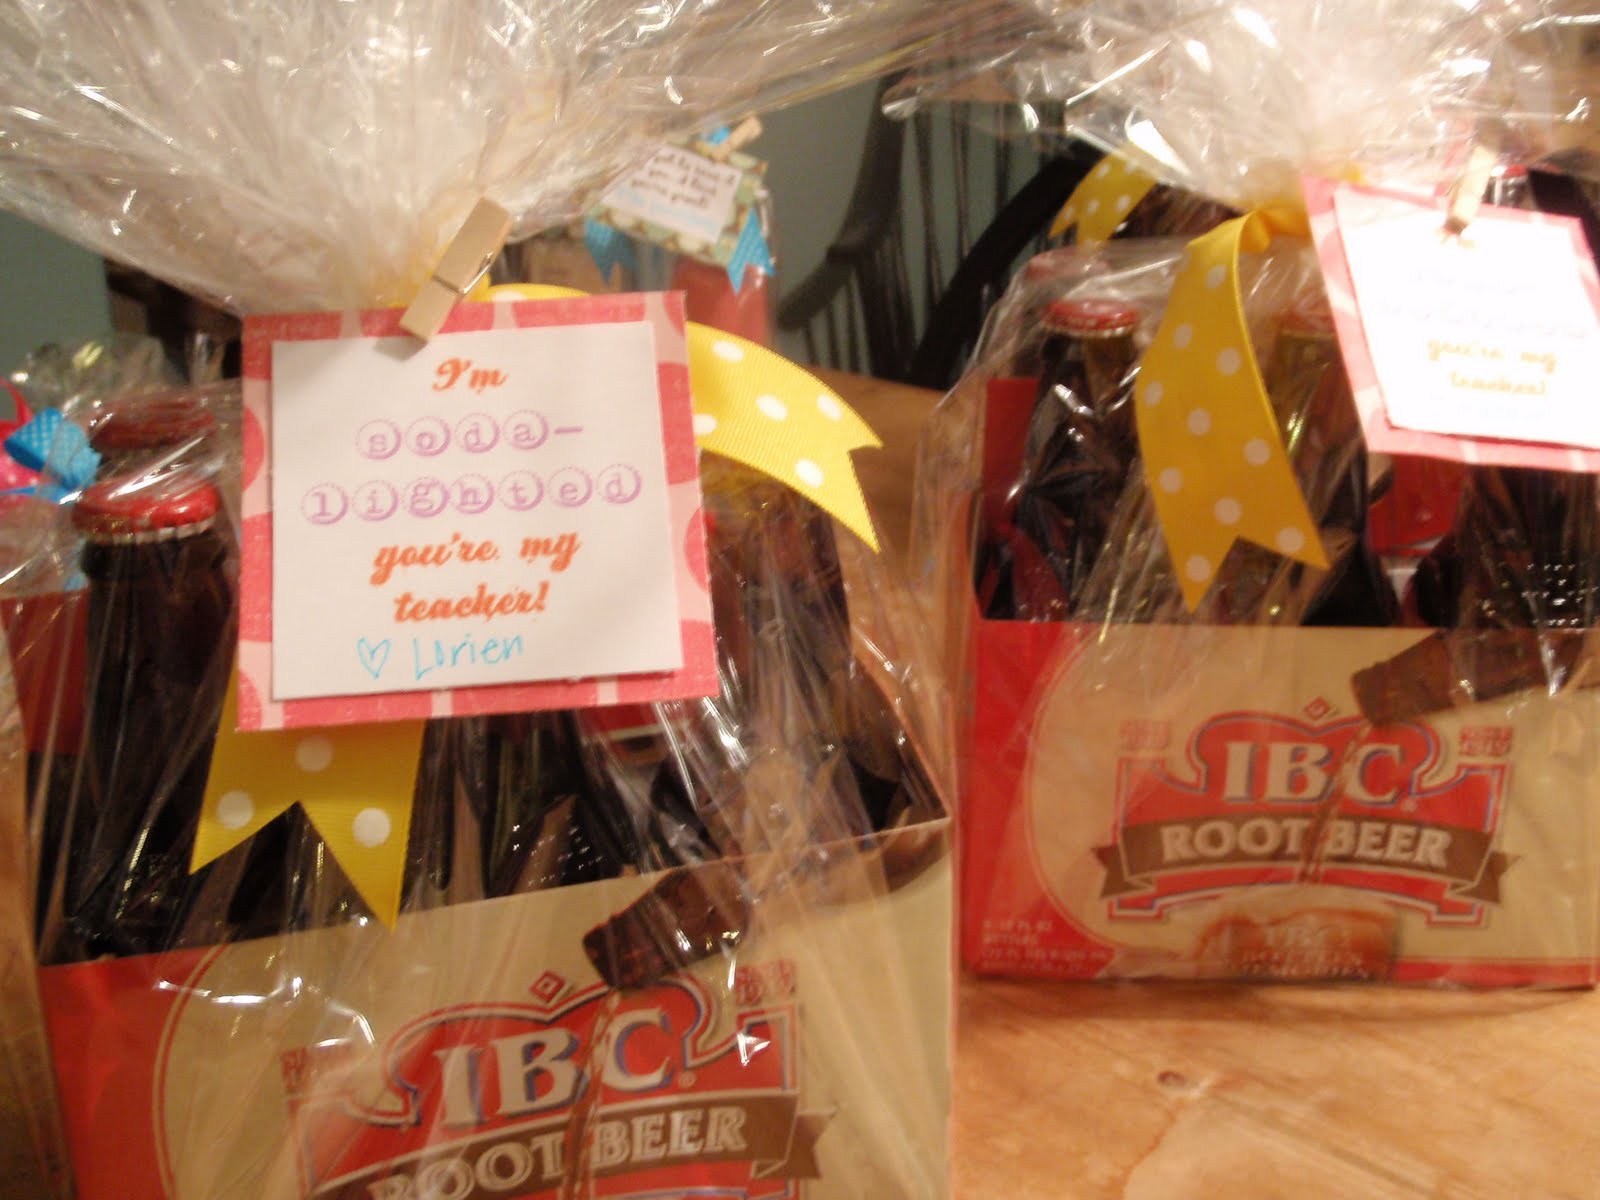
 The rest of the week is just from our family...room parent responsibilities over...so, Tuesday is all about yummy root beer to share with their families...I turned this....
 into this....There were a couple of cute sayings that I saw for this one..."You're an AWesome teacher" for A&W root beer, or this one "I'm soda-lighted you're my teacher!" that you can use with any soda...
 Wednesday and Thursday are all about pampering...Love that Teacher Appreciation is right before Mother's Day so Bath and Body Works has lots of specials running...
 became this "I've got to hand it to you...I think you're great!"
 And a quick stop for Thursday....some bright, fun colors for summer...
 became this...."Thanks for adding color to my life!"
 With summer around the corner, Friday's gift couldn't be more perfect....who doesn't like s'mores in the summer?! So, with this....
 turned into "We need s'more teachers like you!"...
 Hope our teachers have a great week!


